Odoo 15 Lunch Module
An ERP system makes it simple to maintain the food supply system. The Lunch module in Odoo 15 allows you to place orders ahead of time. Installing the Odoo Lunch module, which is beneficial to the business, will eliminate all concerns regarding food supply. This program aids in the management of a company's deliveries, orders, and needs. The Odoo 15 Lunch module allows you to check prices, place advance orders, and track payments.
This blog explains basic menus and provides an overview of the Odoo 15 Lunch Module's configuration.
Lunch Module for Odoo 15
Odoo Lunch is an Odoo Apps module that you need to install. The module will appear in the Odoo dashboard after installation. After entering the Odoo Lunch Module, the user is presented with a dashboard.
Configuration
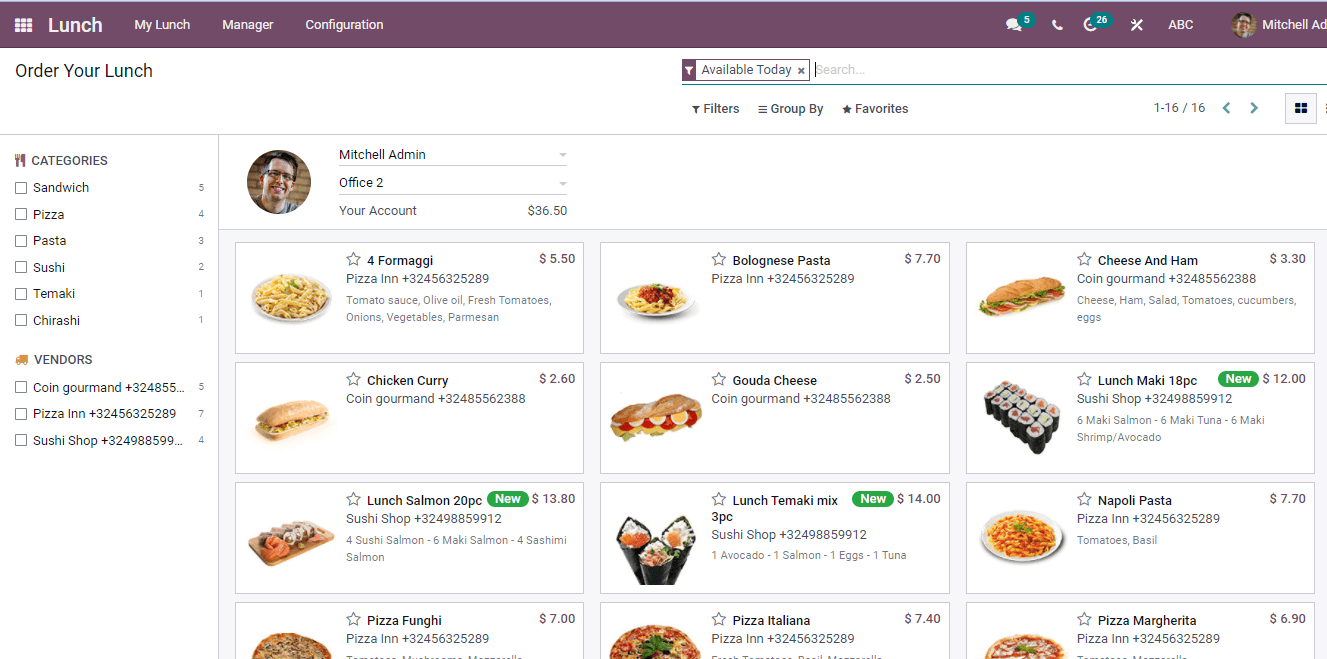
The Configuration tab in the Odoo Lunch Module comprises various options, including Settings, Vendors, Locations, Products, Products Categories, and Alert.
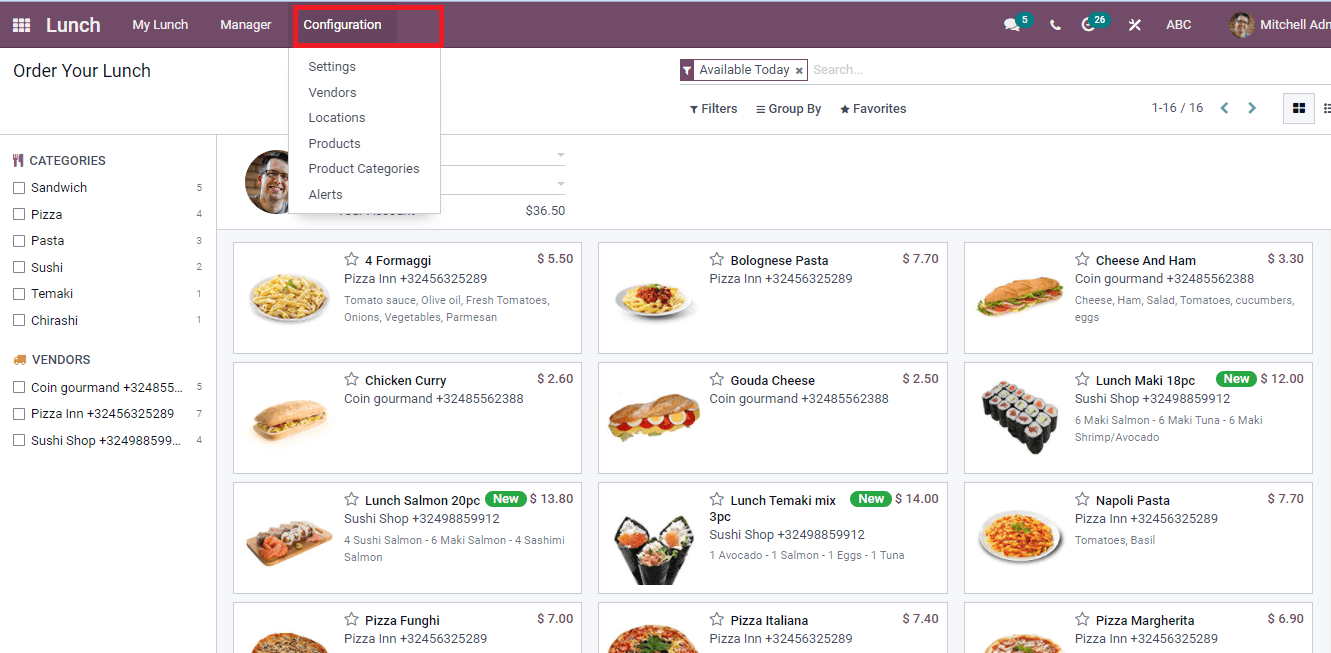
The Setting menu may be found on the Odoo Lunch Module's Configuration tab. The option Lunch Overdraft allows you to add a maximum overdraft to reach employees.
Vendors
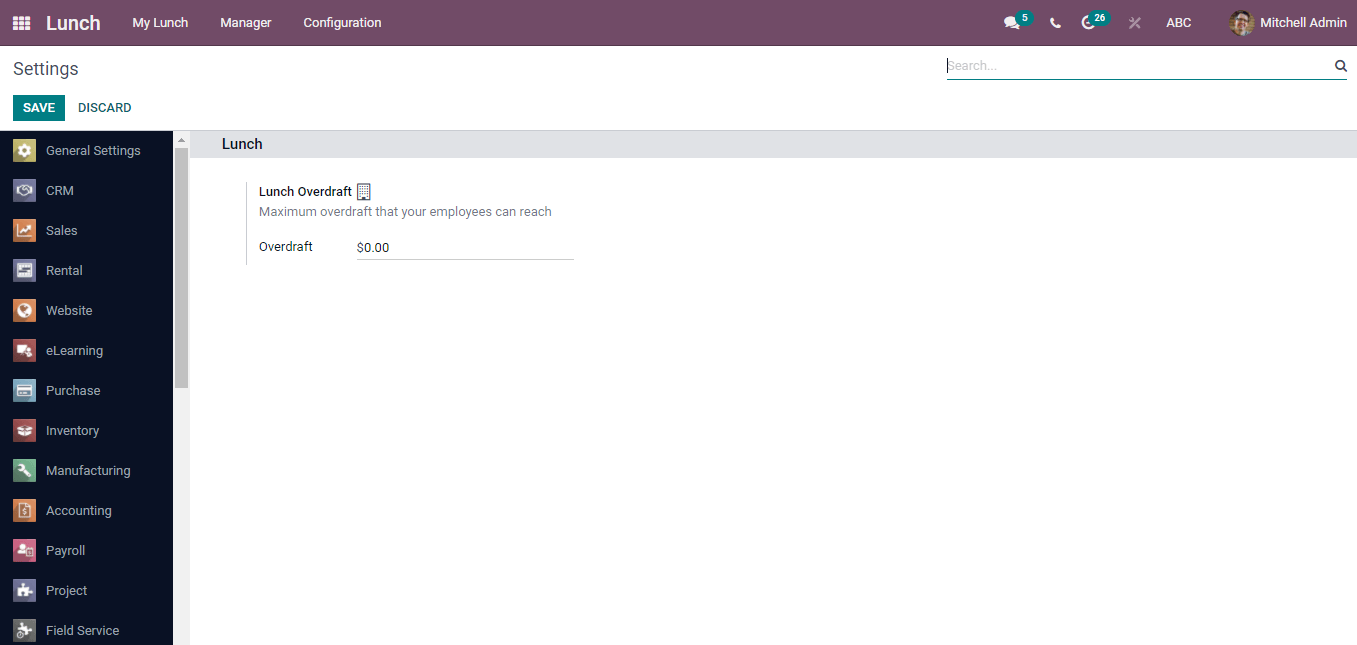
To add new Vendors, go to the Configuration tab and select the Vendors menu. In the pane, we can view the details of existing sellers.
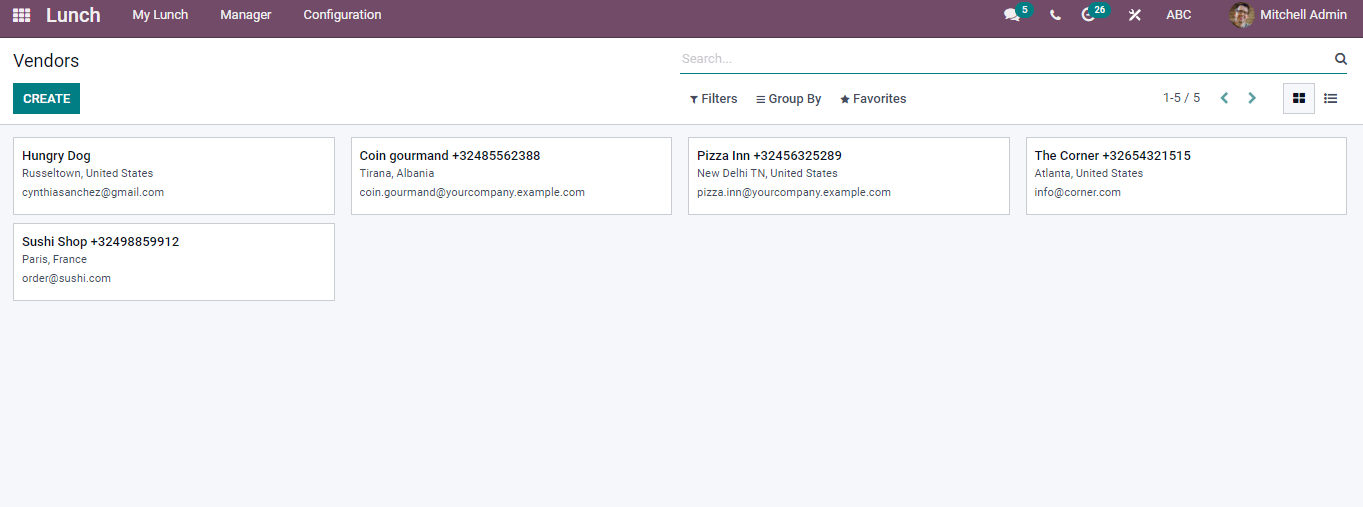
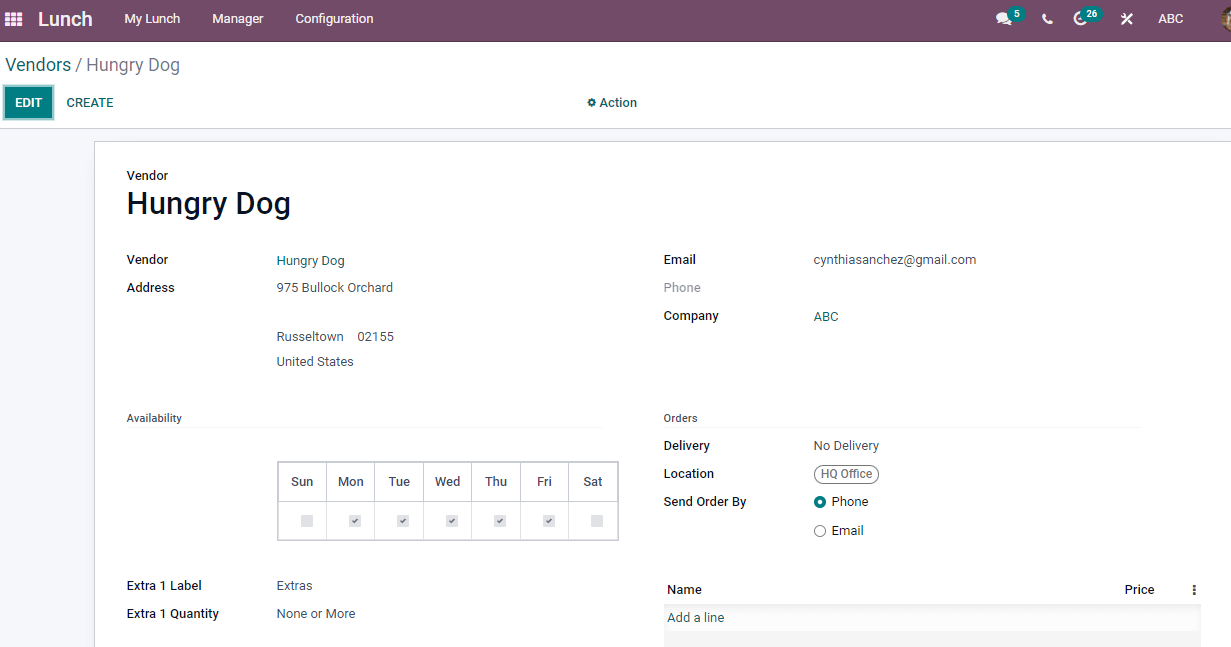
In order to create a new Vendor, follow the steps below.
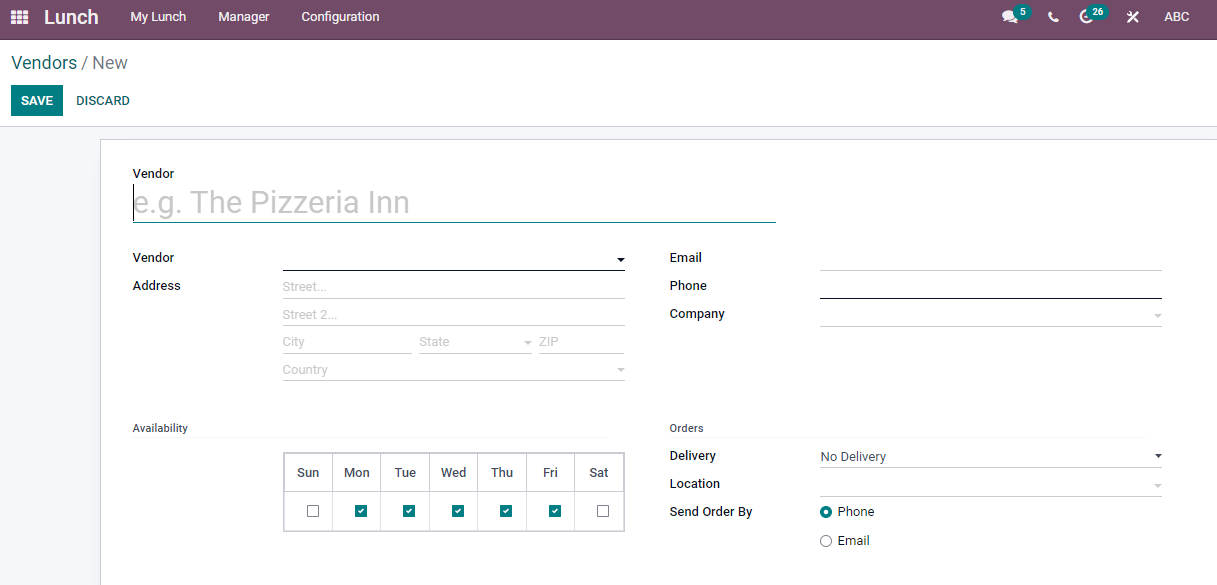
The Create icon assists in the creation of a new Vendor. After clicking the Create button, a new Vendor dashboard appears, as shown in the screenshot below.
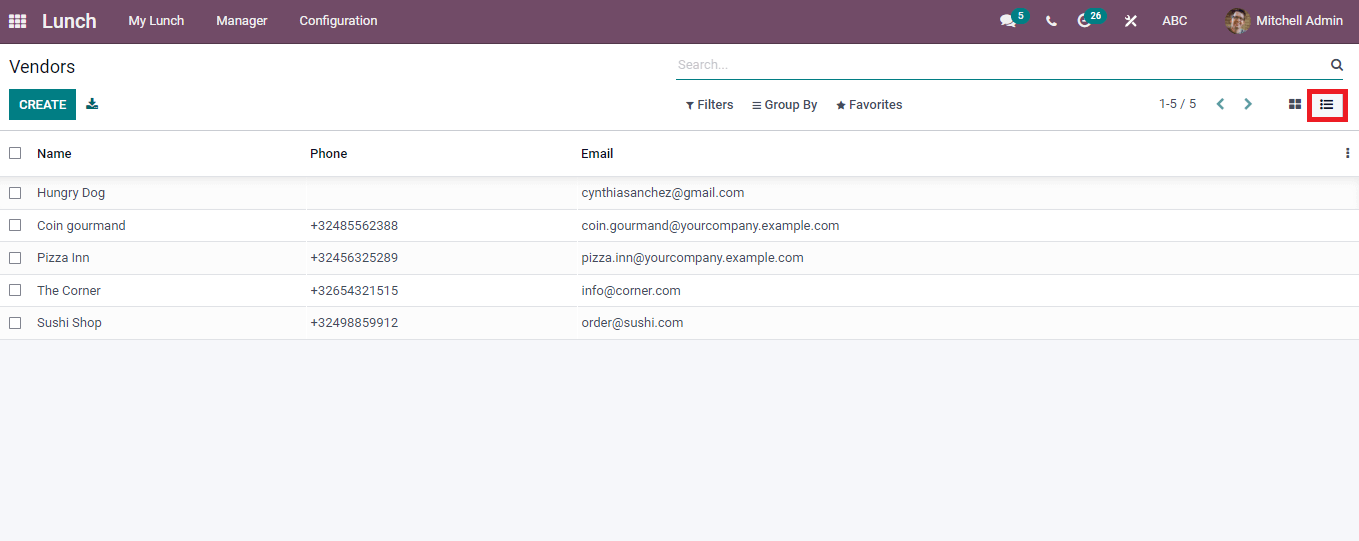
List View
The Vendor's personal information is displayed in the List view at the right end of the window.
Locations
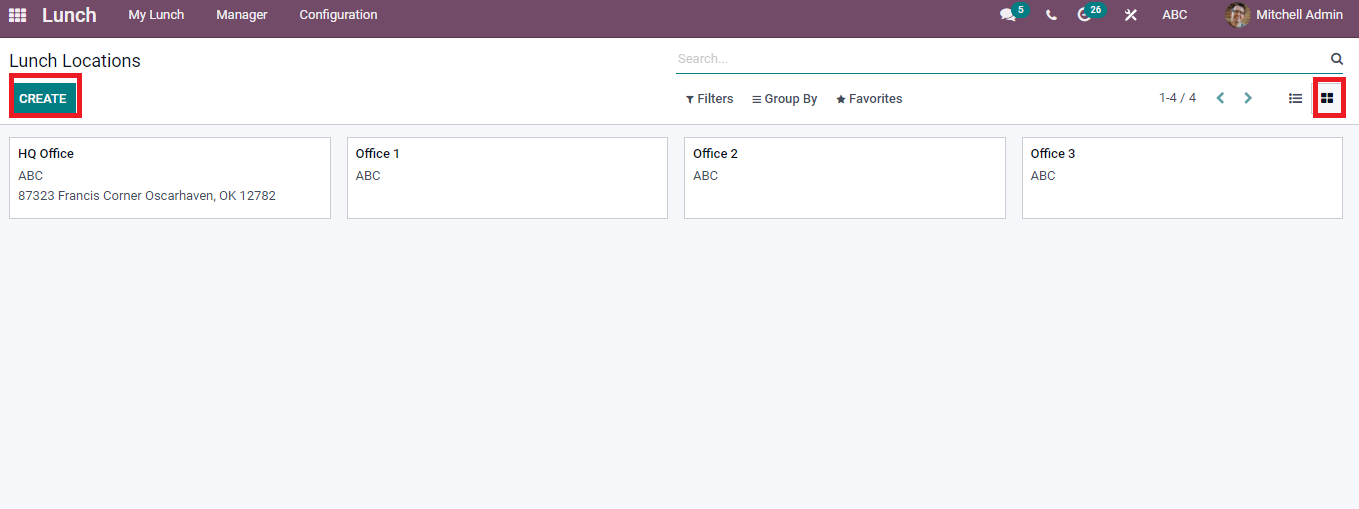
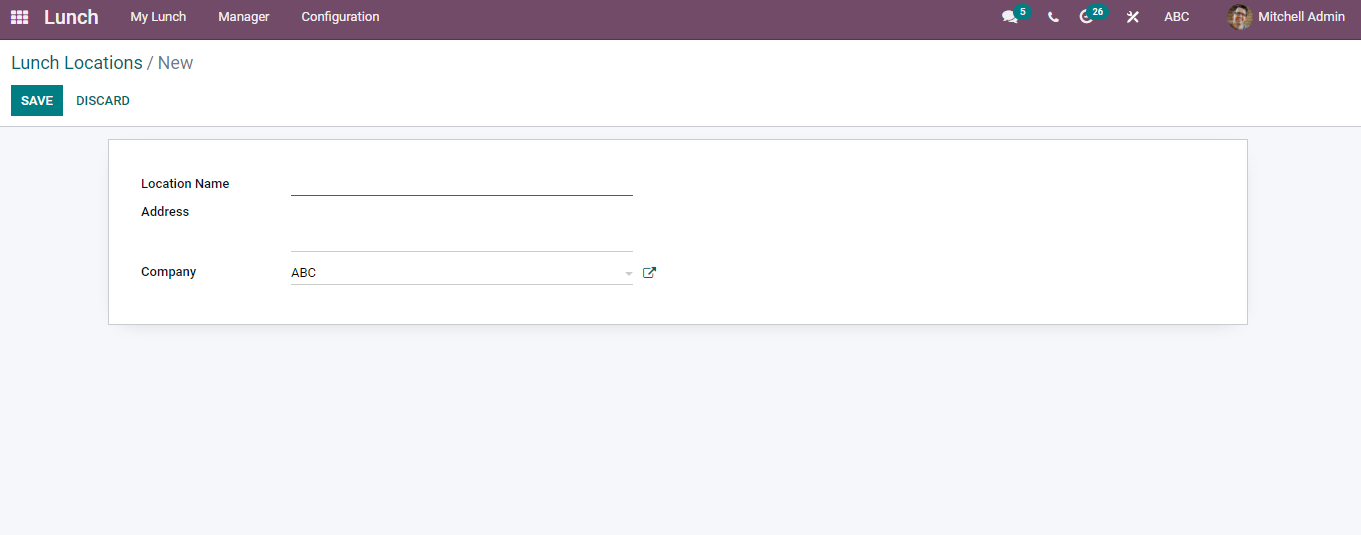
Under the Configuration page, we can set up the Lunch Locations using the Location menu. The Name, Address, and Company of the Lunch Location are displayed in the Lunch Location window.
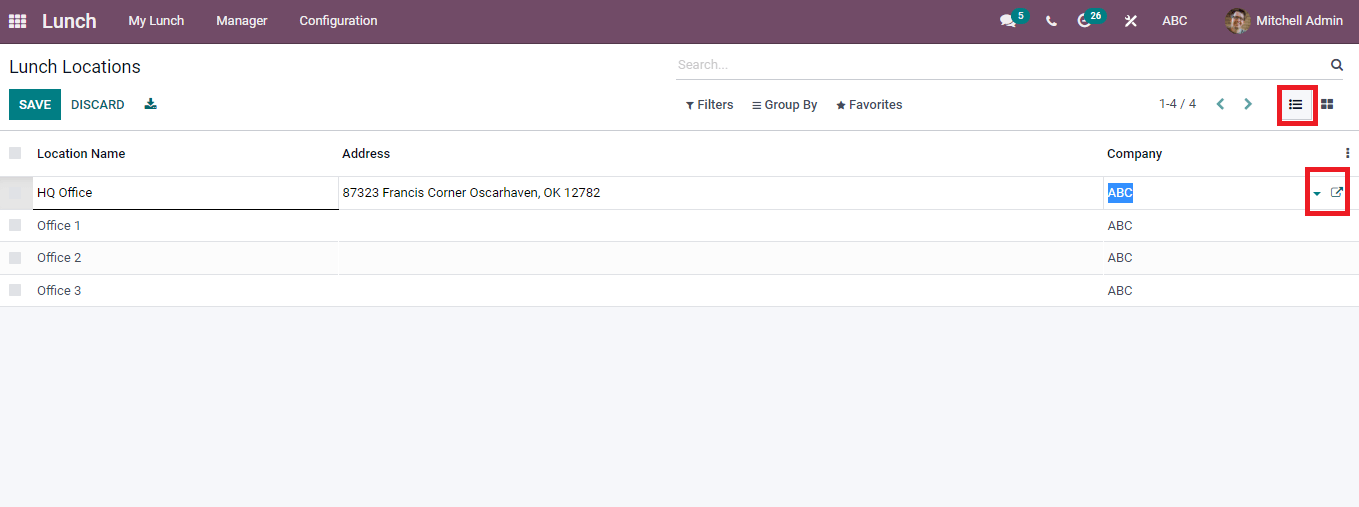
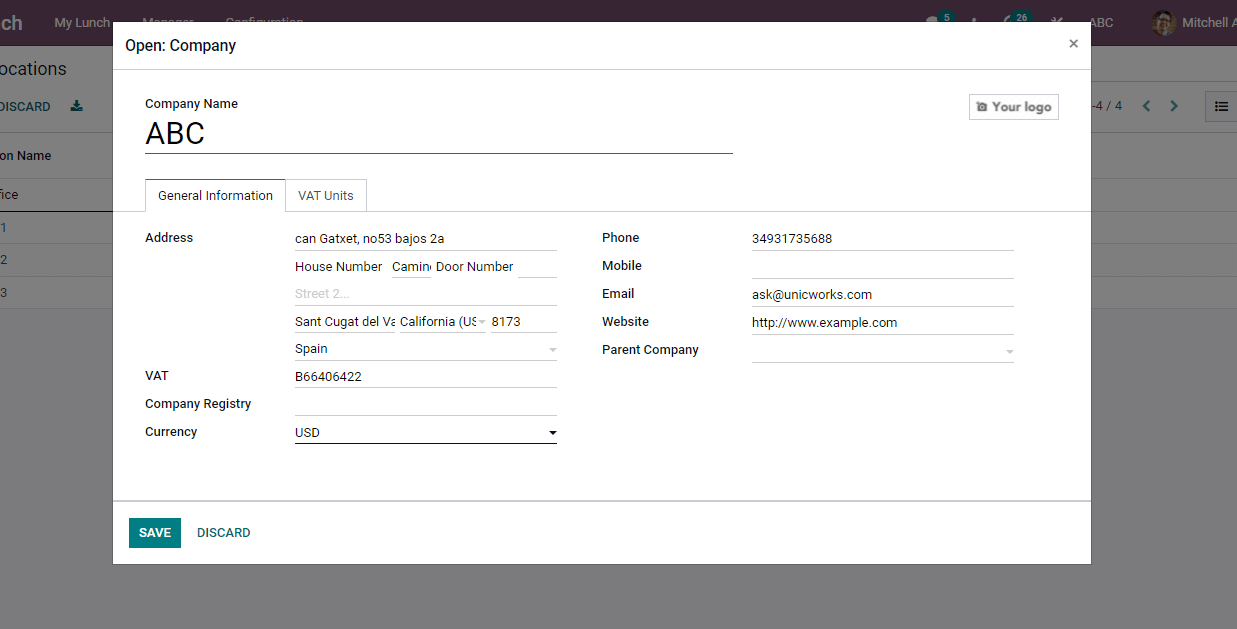
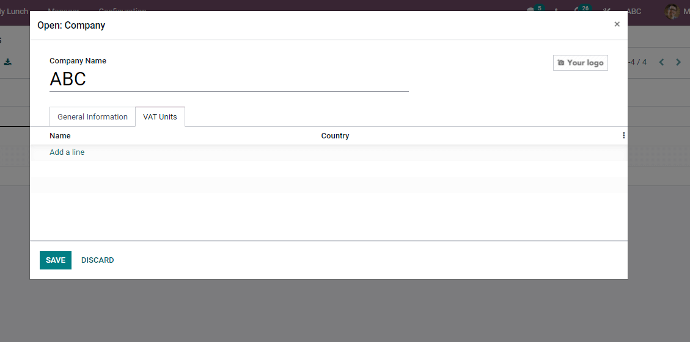
The Kanban View displays information about the Lunch locations of the enterprises that have been founded. By clicking on the firm's title, we can change the address.
Products
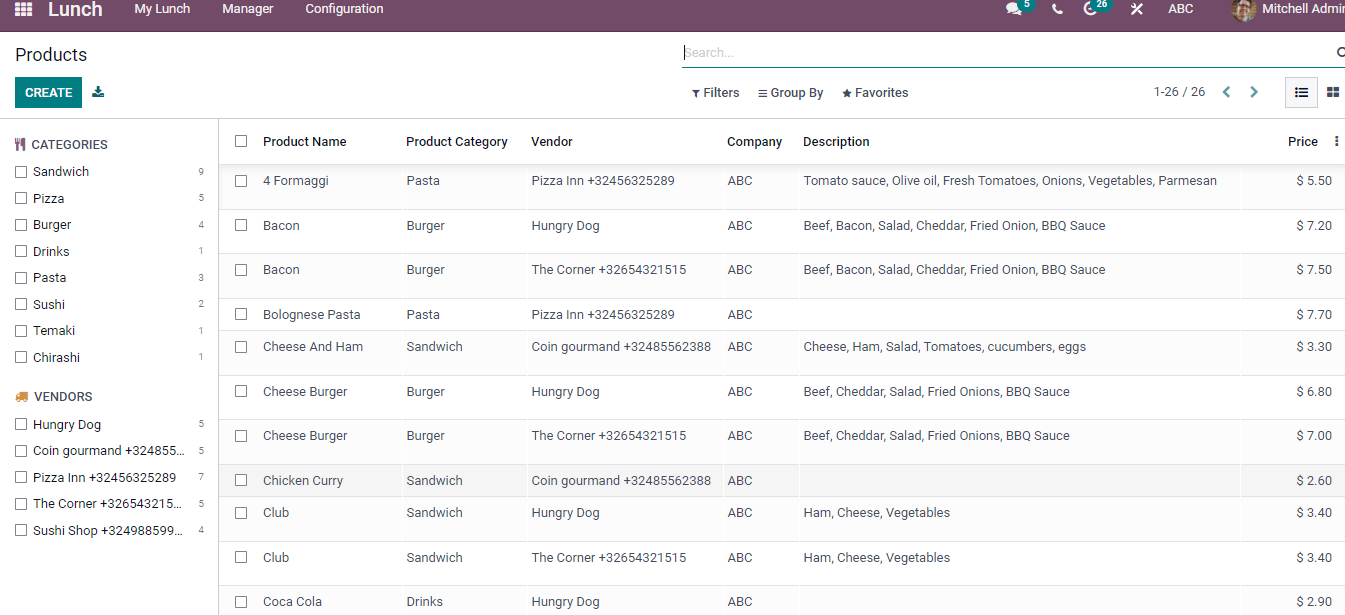
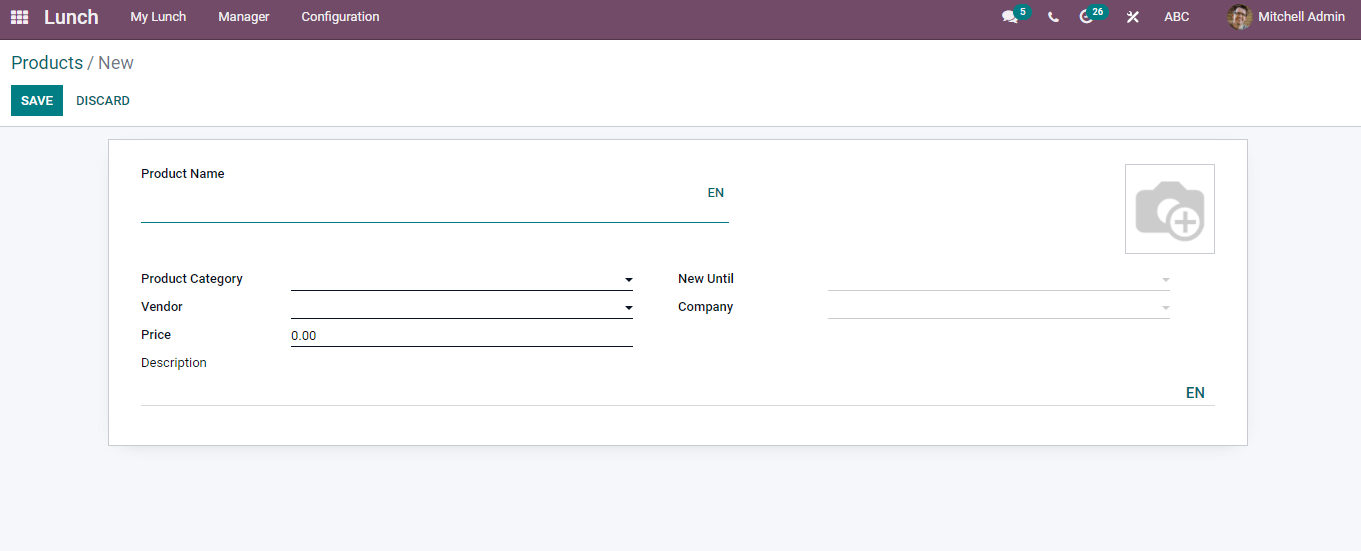
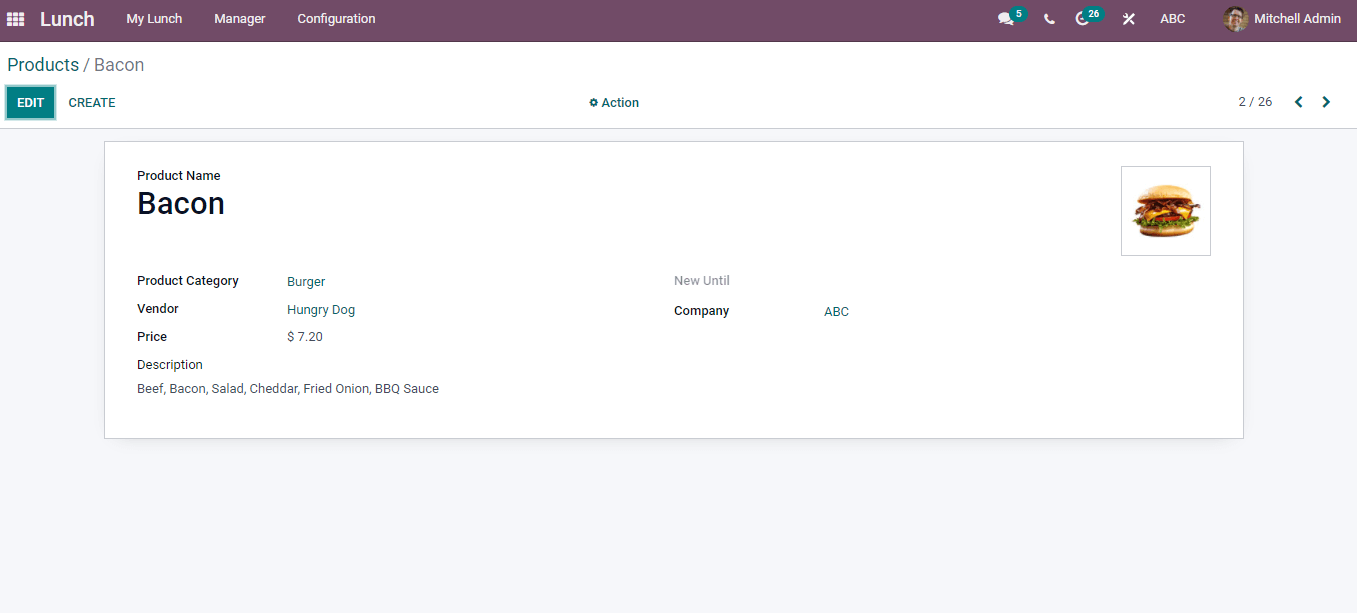
Details on commodities offered as food orders can be found in the Products option of the Configuration page. Kanban, All users can see the ProductProduct list view, and the Categories/Vendors are displayed on the left side of the page. Using Custom Filters and Group, we can sort out the details. In this window, you can see the product name, category, vendor, company, description, and prize.
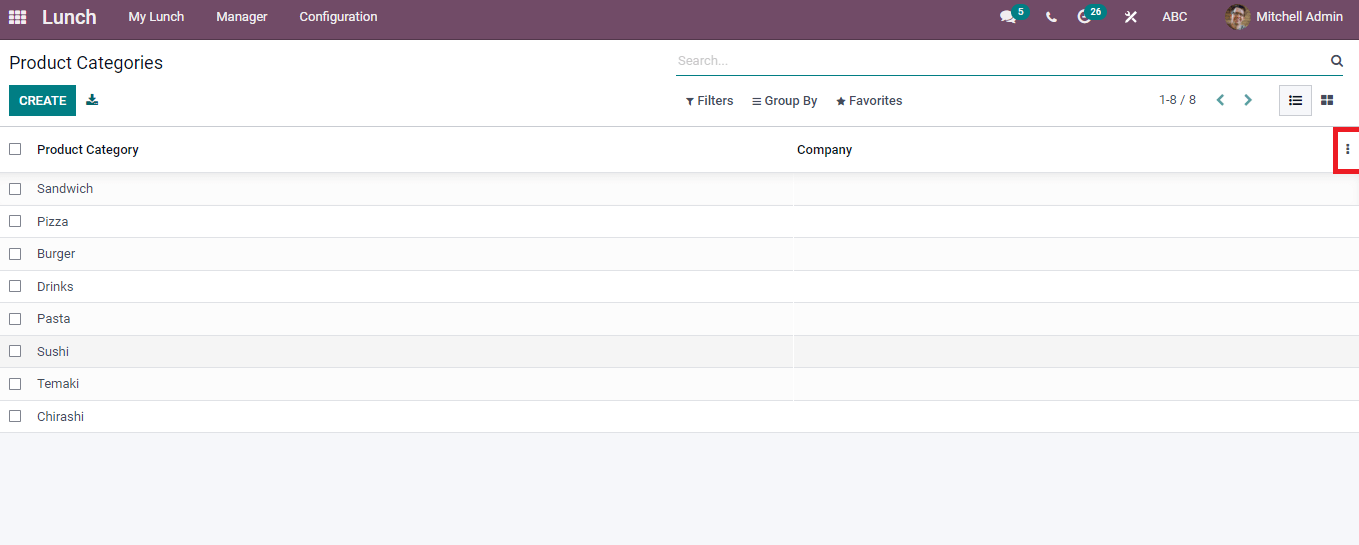
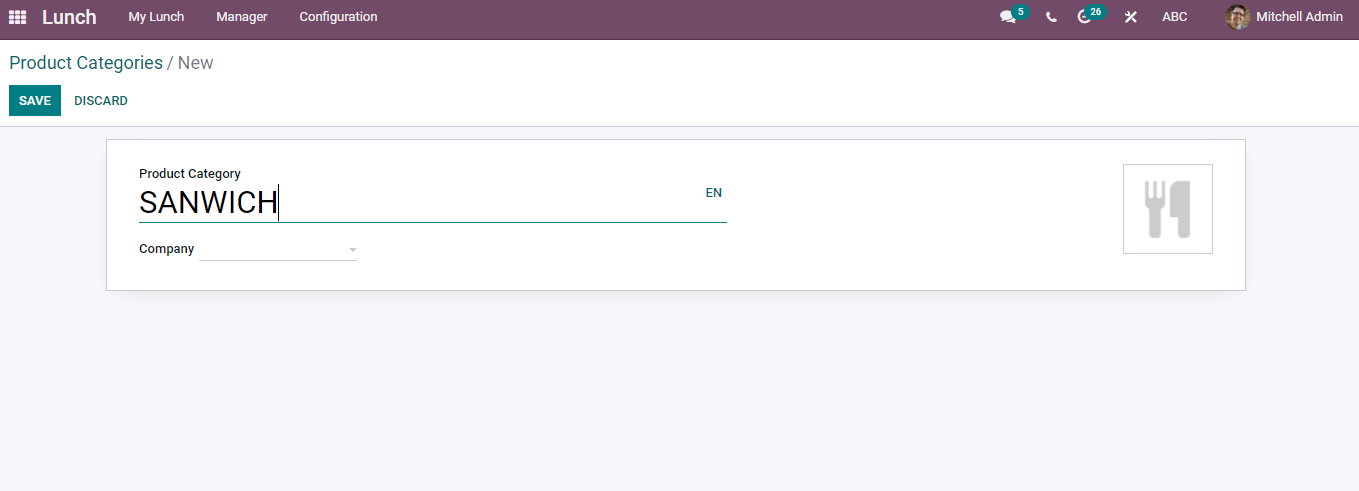
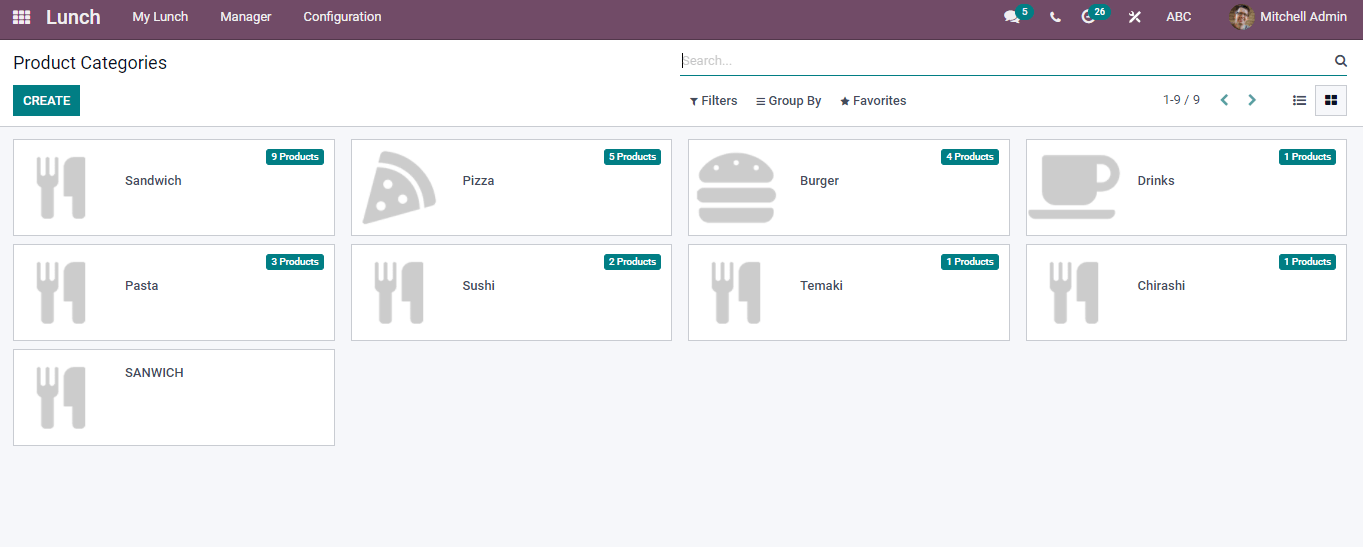
The Product Categories option in the Configuration tab allows you to organize your goods into groups. At the moment of order, each Product is assigned to a separate category. Each product category has a list of company names. The three-dot button on the right side of the window allows you to combine existing categories with a Custom field.
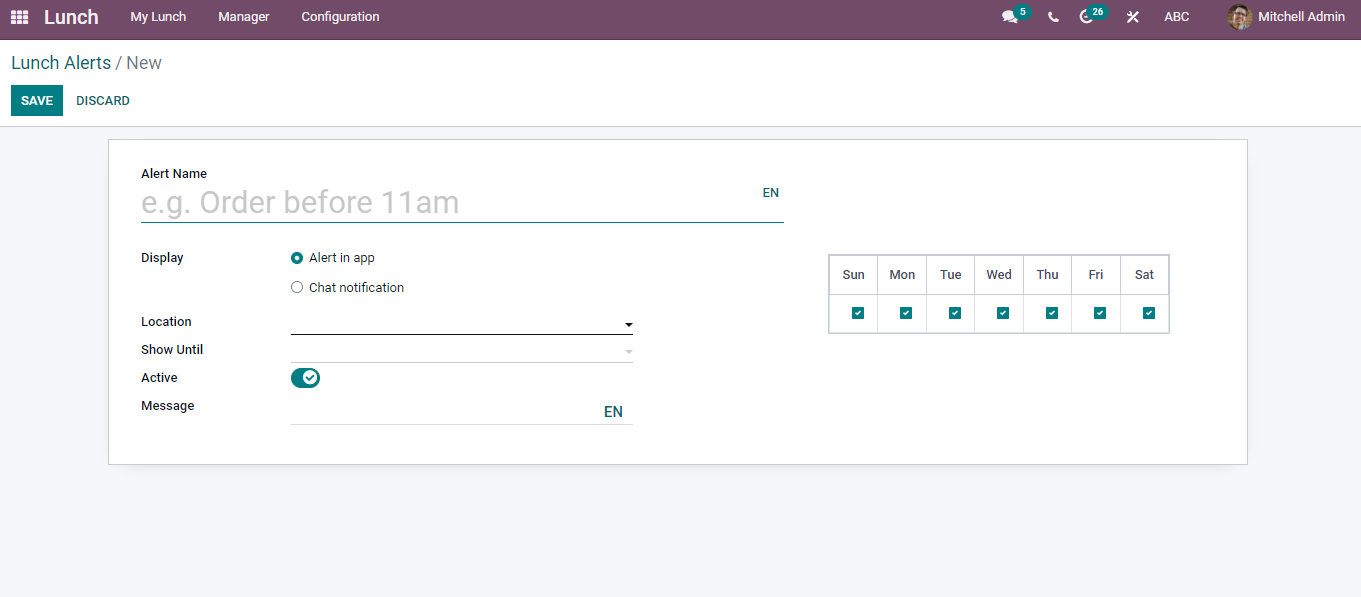
Using the Alerts option under the Configuration tab, we can establish a Lunch Alert. In both Kanban and List views, the Lunch Alerts window is accessible. You can create a Lunch Alert by clicking the Create button.
Conclusion: Odoo 15 Lunch Module
Managing an organization's food distribution system might be difficult at times. However, an effective Erp solution for controlling the food supply might be beneficial. Odoo 15's lunch module will assist a company in managing all food supply concerns. Organizations that provide food for their employees will benefit greatly from this application. With Odoo Lunch, the organization's cafeteria or lunch and snack serving system can manage employee needs, orders, and delivery. As an advanced order placement feature can be used, the system will assist the organization in planning ahead of time to satisfy the requirement. Odoo 15 Lunch Module also allows you to track payments and manage prices.
ERP Cloud LLC, an Odoo Certified Partner, offers a variety of Odoo ERP services, including Odoo Implementation, Odoo Customization, and Odoo Integration, based on individual business requirements.
If you're interested in learning more about Odoo and implementing it in your business, please contact us at sales@erpxcloud.com. Our specialized team of Odoo professionals is ready to create and implement the best solutions for your businesses to achieve maximum outcomes in terms of leads, sales, and money.



Odoo 15 Lunch Module