Odoo Marketing Automation
The Odoo Marketing Automation Module caters to an ERP System that altogether navigates the machine, operates, and computes marketing activities and workflows. This allows the user to control additional operations by increasing revenue and become a prospering marketing team.
Odoo Marketing Automation Module creates a marketing campaign according to your specifications. Therefore, the progress is automatic, automated, therefore, the business sees a boom. It styles efficient, end-to-end shopper relationships develop email campaigns and email templates. You will be able to produce any variety of selling automation action that demands progress streamlining.
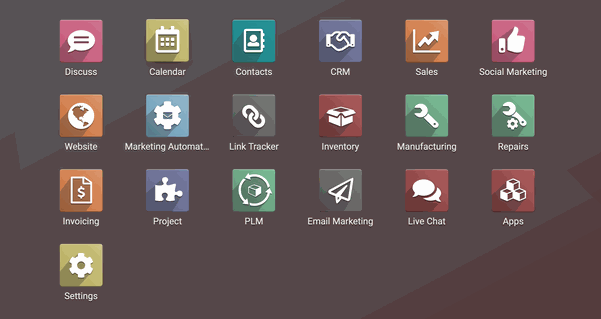
This allows the salesforce marketing team to gather the data and upload it to their Odoo ERP System.
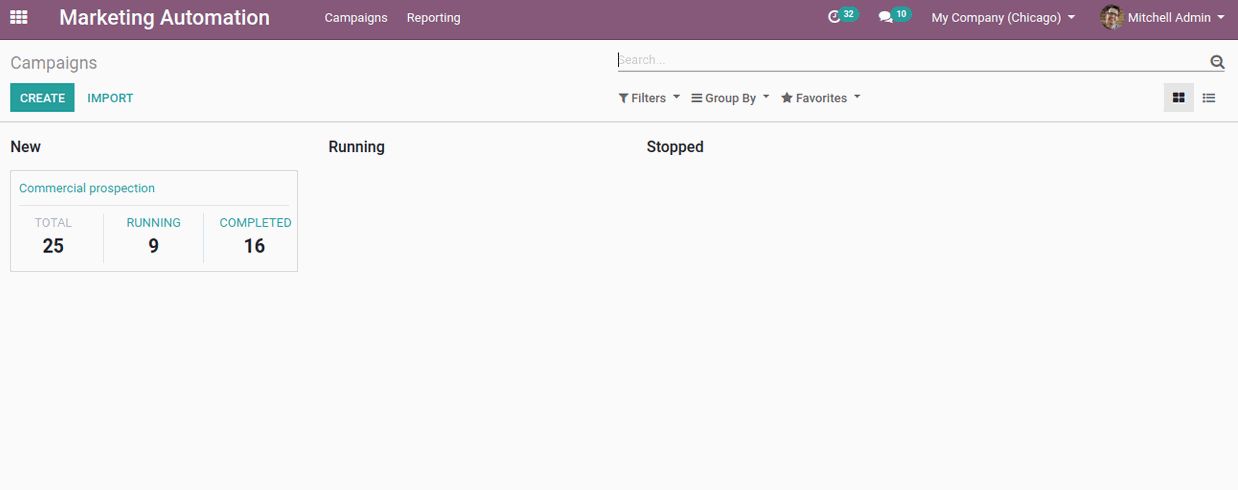
Let's Generate a New Campaign
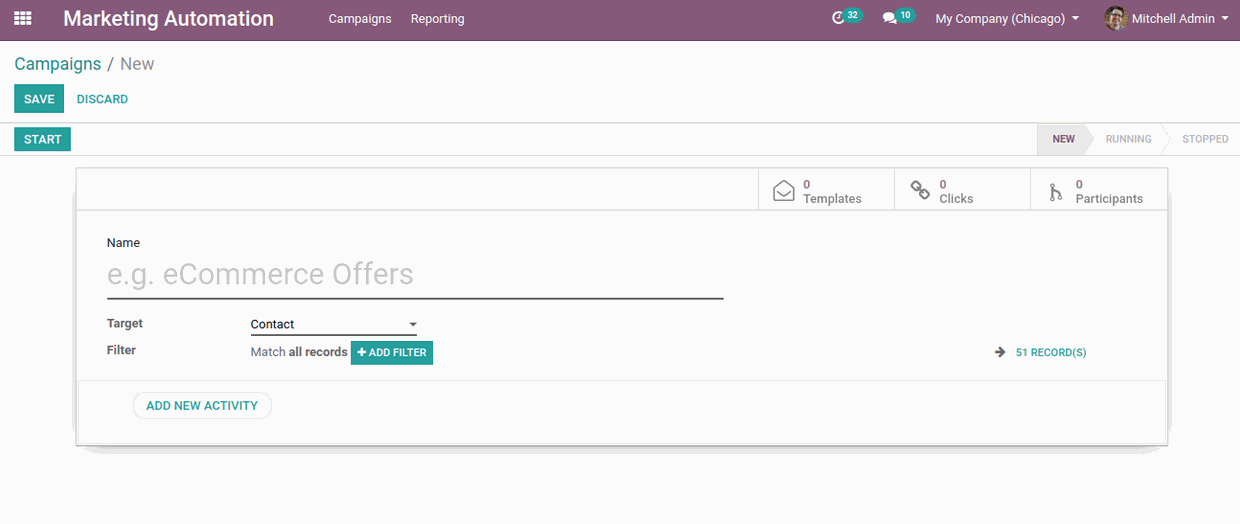
Name: Name of the campaign
Target: The targeted models. Here, already a sample is set as ‘contacts’.
Filter: You have Advanced filters for real-time. The model allows you to set up contacts and if you want to filter the customer location or contact, you have to set the filter in such a way like, ‘Customer location is set'.
Add new activity: Click on “add new activity”, you will get a new pop up window for creating activities.
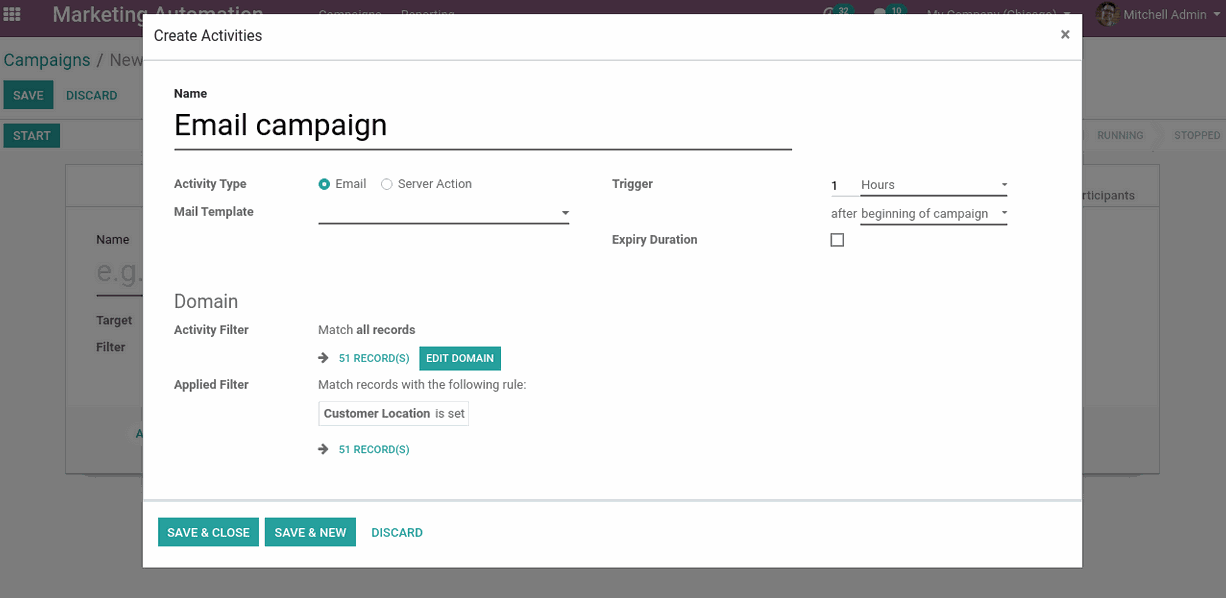
Name: Name of the activity
Activity type: The activity type, Email or Server action.
Mail template: Create a Mail Template for the activity.
Trigger: Mention the period of action.
Expiry duration: To set expiry for the activity you need to click on the box "Expiry Duration".
Domain: Add filters to this activity if needed.
Email configuring: Click on the Email template option, a dropdown list will appear. There you can create and edit a new mail template.
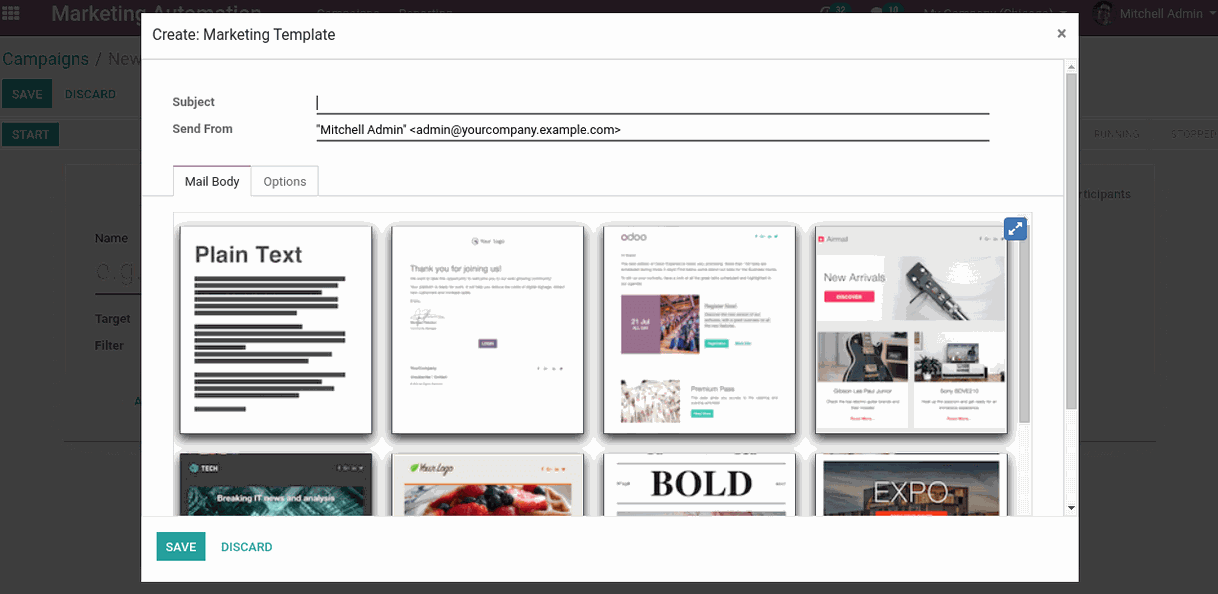
Choose one of the Templates
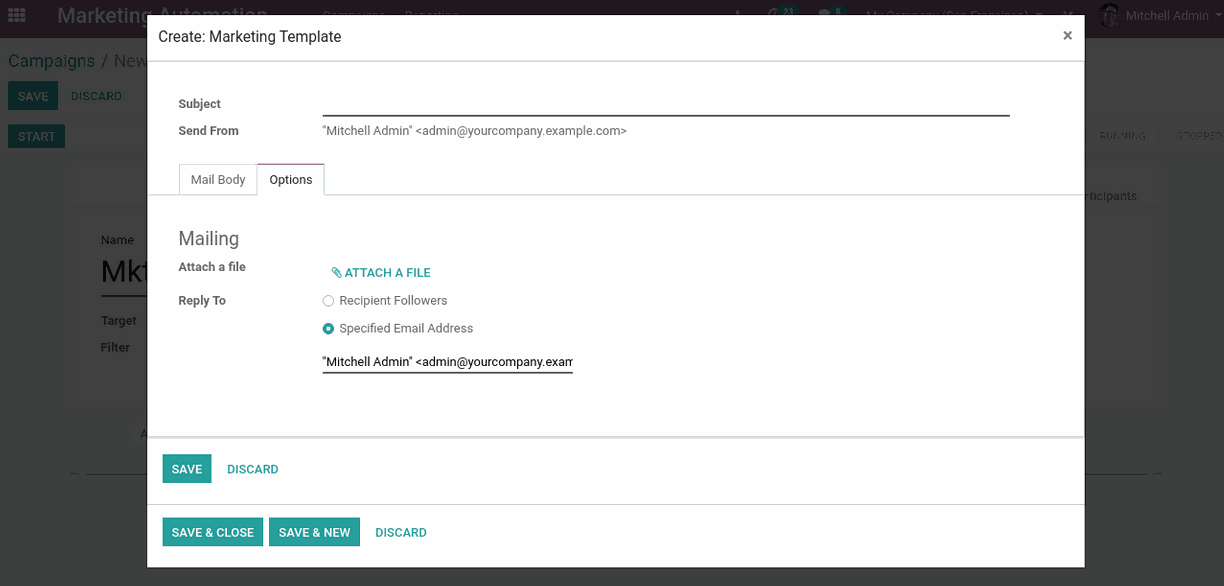
You can attach files to your email. (If needed)
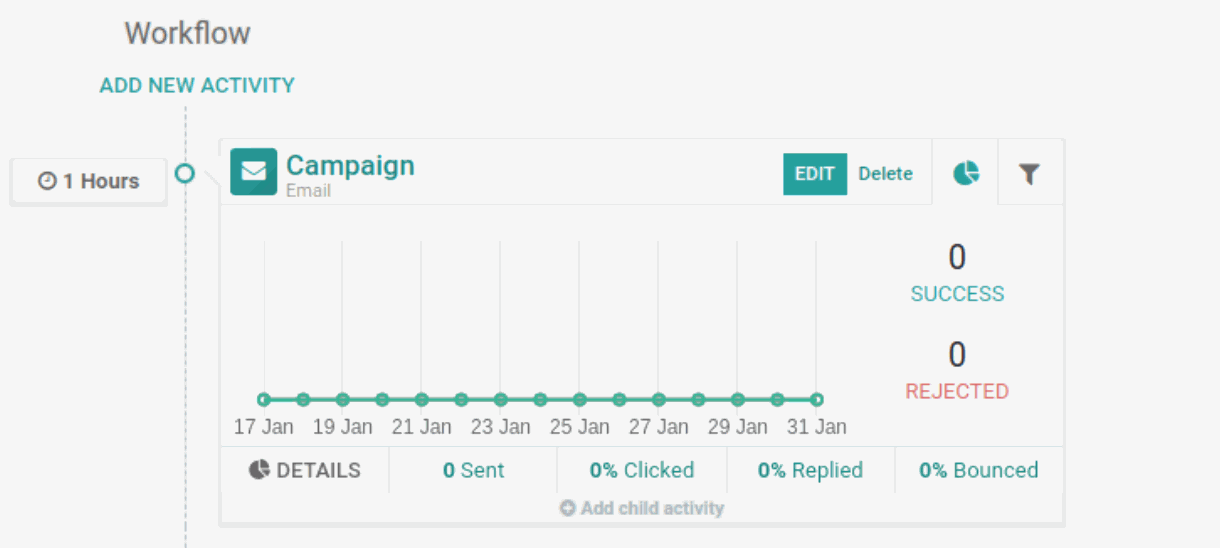
If you require new activities, Click "Add New Activity"
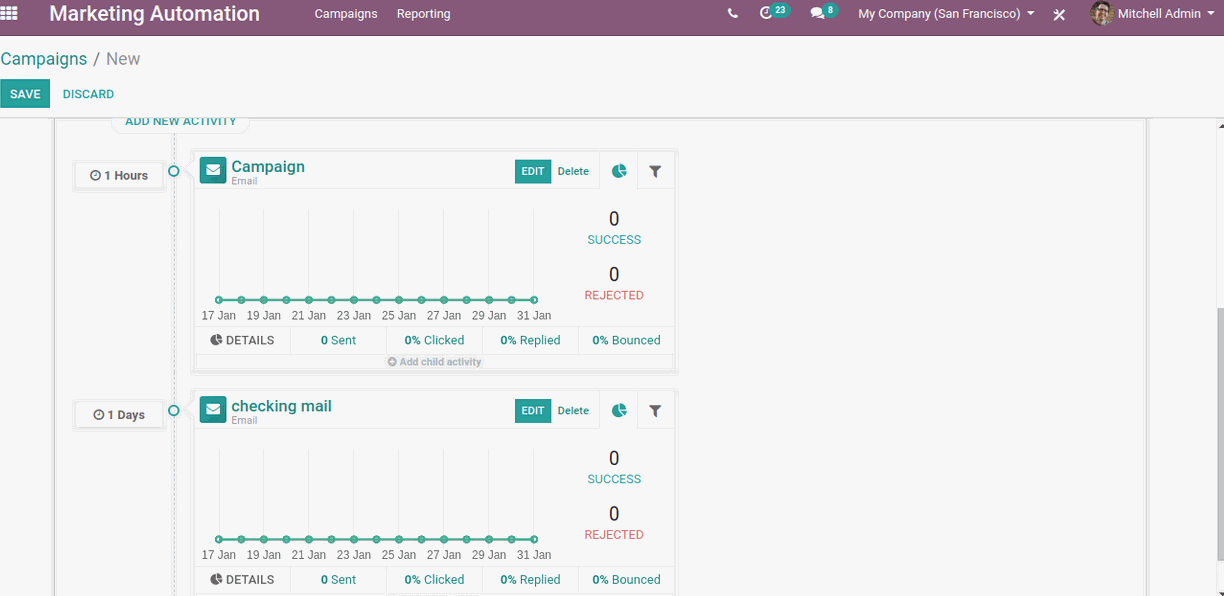
You have created a new Activity.
To edit, click Edit.
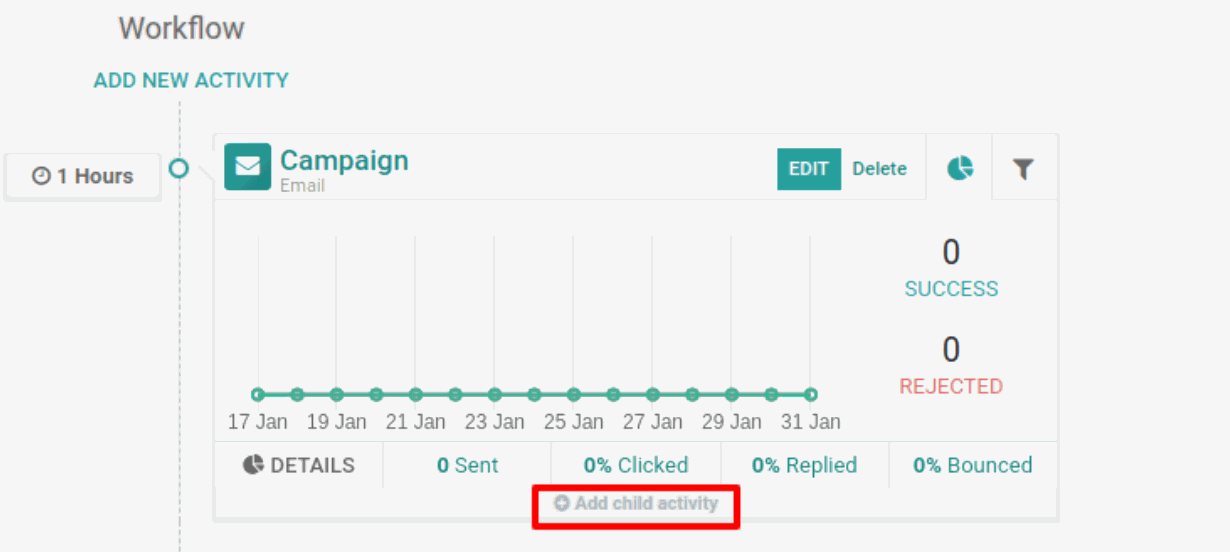
Assign a Child activity
Click on it, a drop-down bar will appear to create a "Child activity".

The options:
Add another activity
Mail opened
Mail not opened
Mail replied
Mail not replied
Mail clicked
Mail not clicked
Mail bounced

After saving these, click on the “Start” button.
Then your campaign starts operating. After the campaign starts there's the choice to “Stop”, “Launch a test”, “Generate Participants” and “Execute activities”.
Click on “Generate participants” to own participants for campaigns. You
will see the participants of the campaign within the smart tab.

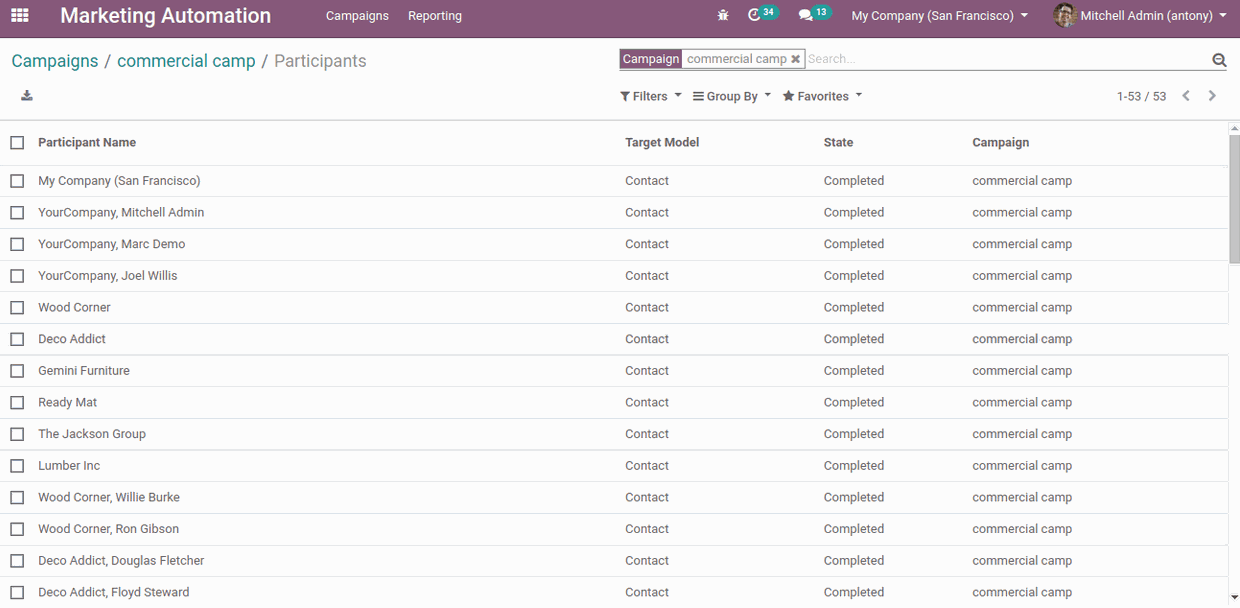
Here tend to area unit ready to see the participants.
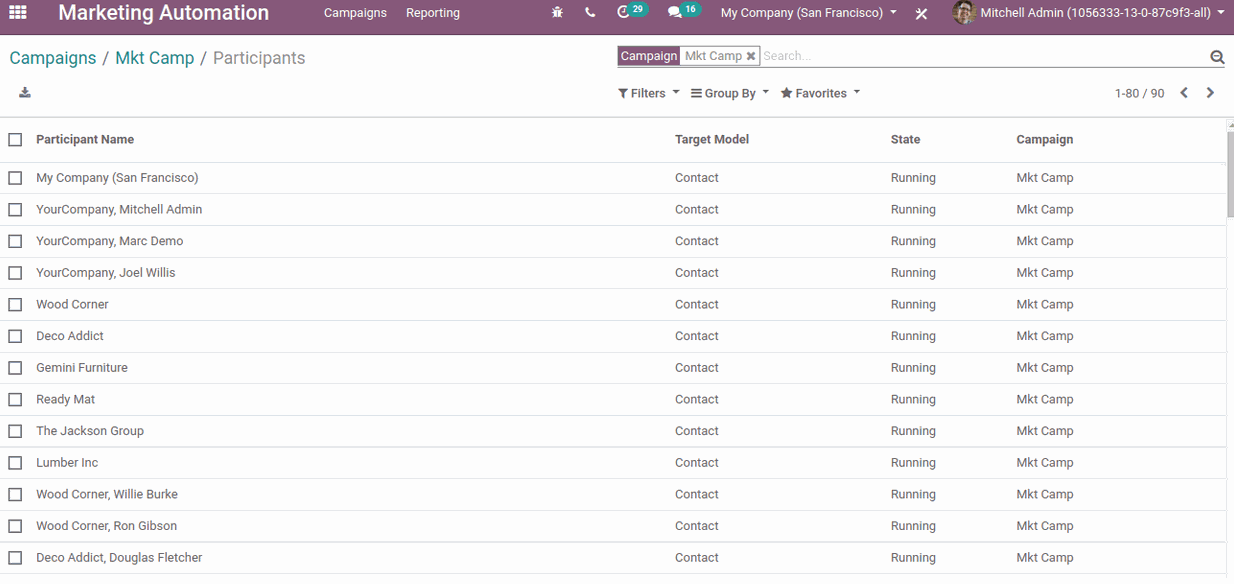
Click on any participants gets the below choices.
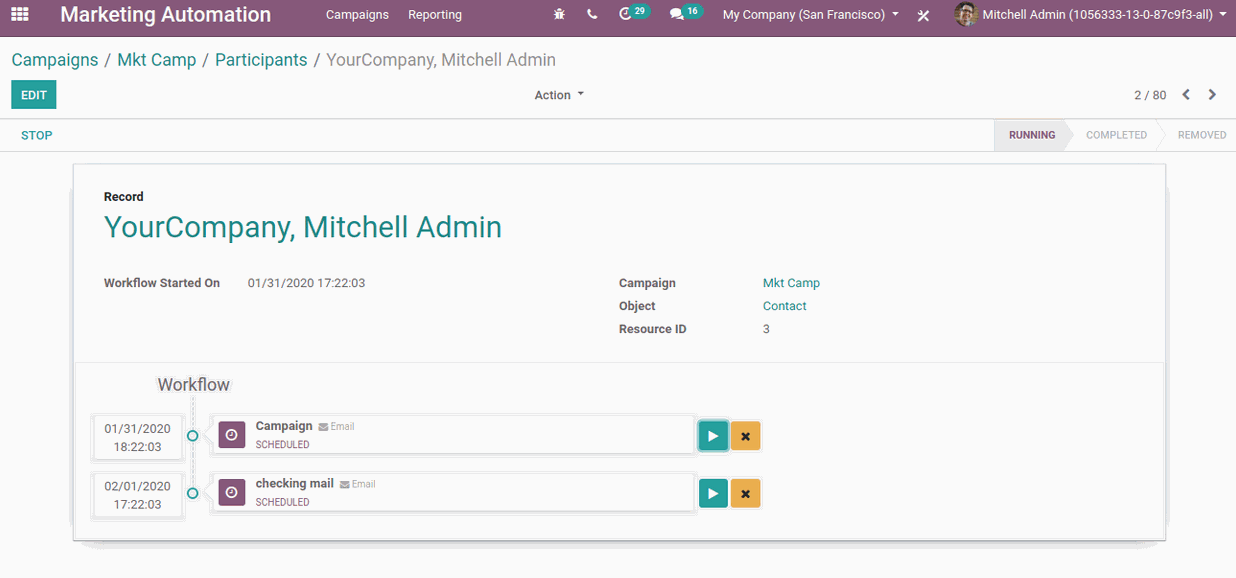
Here see the activities that are set for the participants. You will be
able to run these activities manually for the participants simply by clicking on the play button.
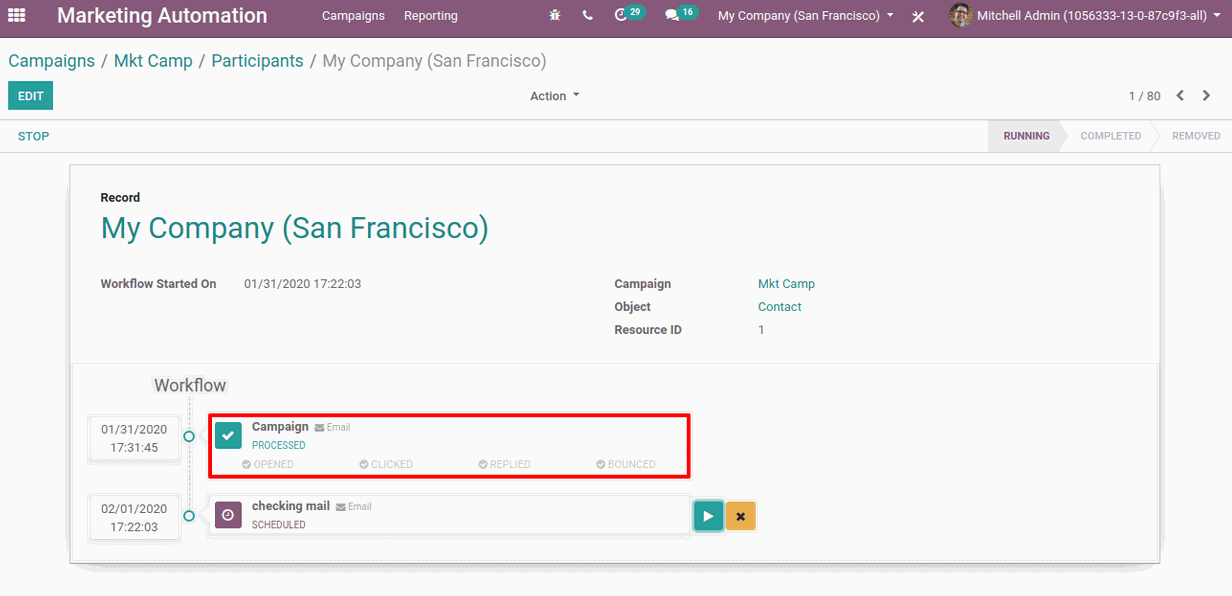
Click on the “Executive Activities”.
All the activities are dead for all the participants.
Now take the participants we shall see the campaigns that the participants participated in and their standing as completed.
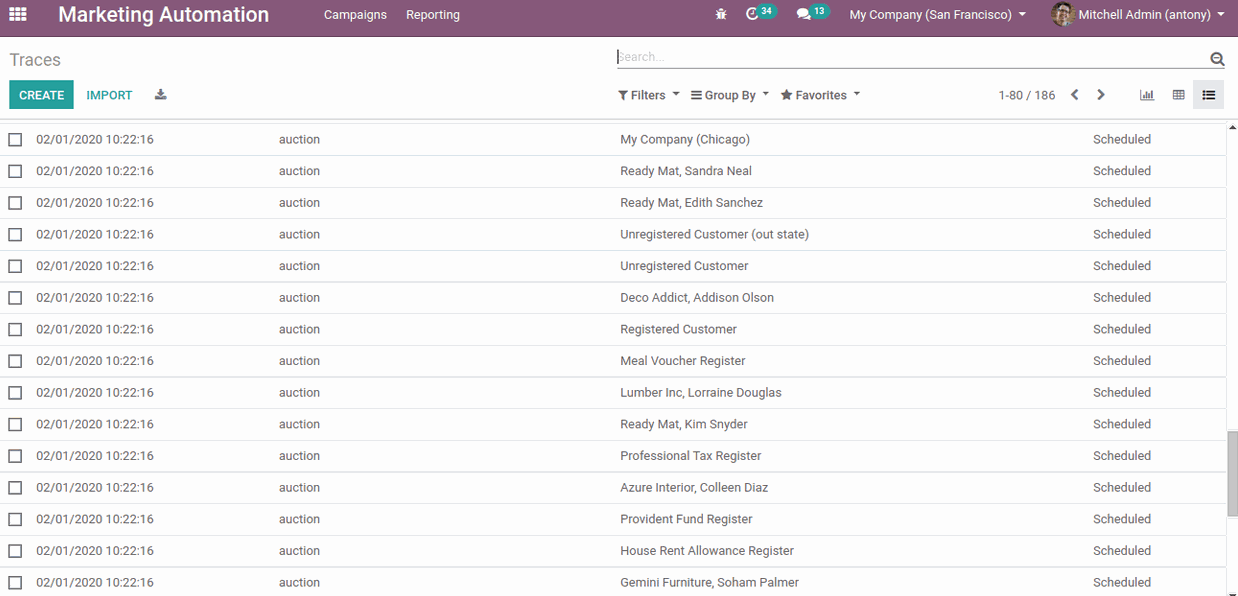
Reporting > Traces.
You can see the status as “Scheduled” for the activities.
And that's it.
You have successfully created an automated marketing campaign for your business.
Remember if you require any additional information, contact us.
50,000+ companies run Odoo to grow their businesses.
Join us and make your company a better place.


